Showing posts with label makeup. Show all posts

AUTUMN LIPS

Friday, November 4, 2016

Happy November! I can't believe we're at this point already. I feel like everyone says this in every blog post, youtube video or tweet, but it's so true! It feels like last week I was graduating college and yesterday I was struggling through the muggy New York summer. 

Thank goodness we're past that point because we are finally in one of the most wonderful times of the year: Autumn! Specifically, Autumn in New York, which is so magical. 

In today's post I'll be sharing four of my favorite Autumnal lip combinations. These are the colors I've been wearing lately because they shout 'Autumn Cheer' and I love that. 

My first favorite is the Kylie Cosmetics LipKit in 'Leo' which is a deep burgundy. It veers on almost dark purple and dark red, which makes for such a great shade on the lips. It's dark and vampy and perfect for Autumn nights out.


Next up is something a little sweeter and more demure. It's the Burberry Lip Velvet in 405 'Nude Rose'. When I first got this product I felt a little bad because it was expensive and over the top but I've quickly realized that it's priced that way for a reason. Realistically I know that mostly it's for the name 'Burberry' but these really are fantastic lipsticks. This shade, which is a pinky nude, comes across lighter on flash, but looks like a subtle nude in person. I love how moisturizing and long-wearing it is also!


My next Autumn Lip choice combines two of my tried and true favorites: The NARS Satin Lip Pencil in 'Rikugien' and MAC's Lip Liner in 'Whirl'. These two have been in my makeup collection for years and I thought that I would combine them to make a perfect berry lip color for the fall. The combination is a great mix because deep purple and rich red, making for that unforgettable lip color that is so enviable as a 'Your Lips But Better' shade.


For my last Autumn Lip, I've gone with the traditional red. But to spice it up, I've combined two of my favorites to create a red that is a deeper than your typical shade. To create this look I first lined my lips with the Kylie Cosmetics 'Kristen' Lip Liner and then filled in the top with Makeup Forever's Rouge Artist Intense in '39'. 


I love how all of these lips turned out and they've definitely become part of my #AutumnLook. 

What are your favorite lip shades for the Fall?

xo Emily

LORAC OBSESSED

Monday, September 12, 2016

I think I'm in love...again. 

And I'm not talking men...partly because I'm very single and partly because I love other things way too much to even have THE TIME, goddamnit! I'm talking LORAC Cosmetics. In particular, the Pro Palettes.

I truly can't get enough of the LORAC Pro Palettes because they're damn perfect. If you follow my blog or my Instagram - you know I'm a huge fan of the LORAC Pro Palette 2 (I've yet to try #1) and kind of use it everyday, everywhere. (true story, I used it for all-over robot halloween face makeup once) 

So when I went into ULTA a few weeks ago and saw the LORAC Pro Palette 3 , I knew I wanted it. I had originally gone in to look for the Anastasia Beverly Hills Modern Renaissance palette because I tried it out thanks to my bb Taylor and it's freaking gorgeous, but of course, they were sold out. So when I saw that the sleek little Pro 3 had some similar shades, I thought I'd spend money I didn't have on it! Yay being a college graduate!!!

It's just like the previous two palettes - same size and shape, which I love. The thinness is really nice because there's nothing worse than a clunky palette (I'm talking to you Naked 3). The inside is even better than the outside. 


You get a huge mirror - which is never really a selling point for me due to the fact that I literally can't do my makeup unless I have a big mirror - but it's actually really handy in this one. In addition, it comes with a mini LORAC eye primer.

It has 16 shadows - 8 shimmer and 8 matte - all in the warm-toned fam. 


I've swatched all the shimmer shades and they're pretty phenomenal. The softest and lightest of the eight are Light Gold and Almond Pearl - but they show up better on an eyelid than my gross, pale arm anyway. (even better with a primer)
  

My favorite of this set is 'Light Pewter' for a shimmer shade and the matte 'Cool Taupe'. It's great for a crease color bc we all know you need to check the crease before you do anything else. 


I'm loving the shimmer shadows of 'Amethyst' and 'Rose Bronze' in this set and CANNOT GET ENOUGH of 'Terracotta'. SHIZ that is a nice freaking shadow. 

And as you can see below, the darker shimmer shades swatch a lot better on my arm. (Also check the toenails in this pic, real professional)


I've had it for a few weeks now and the colors wear incredibly. They're long-lasting, pigmented, and gorgeous (as expected) and I really love it. Coincidentally, it has replaced my Pro Palette 2 as my everyday palette. That's okay, Pro 2, I'll always come back to you <3

Do you have a Lorac product you love?

xo Emily

SUMMER MAKEUP TUTORIAL - Shimmery Golden Skin (With Video)

Saturday, July 16, 2016

Hello everyone! 

Today's post is all about this beautiful, shimmery summer makeup look! Today's post is even more special because I decided to film and edit this tutorial into a fun YouTube video for you all! 


I really love how this turned out and I hope you all enjoy. I've got the products used listed below and in the video's description box.


~ PRODUCTS MENTIONED ~

Maybelline Baby Skin Instant Pore Eraser:

L’Oreal Infallible Pro-Glow Foundation (202 - Creamy Natural):

Tarte Maracuja Creaseless Concealer (Fair):

Maybelline Instant Age Rewind Concealer (Fair):

Rimmel Stay Matte Powder (001 - Transparent):

Too Faced Chocolate Soleil Bronzer:

Too Faced Papa Don’t Peach Blush (dupe):

Anastasia Brow Wiz (Dark Brown):

Glossier Boy Brow (Brown):

Lorac Pro Palette 2 (Buff, Light Brown, Mocha, Cocoa, Rose) :

Milani Bella Eyes Gel Powder Eyeshadow (Bella Gold):

Stila Stay All Day Liquid Liner (Black):

L’Oreal Telescopic Mascara (Blackest Black):

Rimmel Exaggerate Lip Liner (Eastend Snob):

Rimmel Show Off Lip Lacquer (Nude Eclipse):


xo Emily

Getting Glossy With It / Simple Spring Makeup Using GLOSSIER

Monday, May 9, 2016

Hey guys! If you follow my instagram (which you should), you know I've been loving the brand Glossier. The brand began on IntoTheGloss.com, one of the most successful and beloved beauty blogs (which includes me) and from that, Glossier was born. It's a line of incredible skincare and makeup products and it's incredible. Today's post features Glossier to create a really sweet and simple makeup look!


From the packaging to the product, Glossier is a marvel. I haven't been this impressed in a brand in awhile. 

I purchased the Stretch Concealer and the Boy Brow, the latter of which took me months to even purchase due to its popularity (and I can see why). I decided to craft a simple, spring makeup look using these two products in action. 

 The Stretch Concealer ($18)is so lightweight and buildable, and looks incredible on the skin. I love how elastic and easily movable the concealer is, it makes it easy to leave a great finish on your skin. Plus, you're really never going to run out of it.


The other product I brought was the Boy Brow in brown. ($16) This is one of my favorite brow products, ever, because of how easy and quick it is. There's nothing better than just throwing on brow gel and getting out of the house and this is the perfect gel to do that. It's perfectly pigmented, natural, and affordable!


So for the makeup look below, I'm using those two products, along with three others to create a simple spring makeup look. It's easy and quick and so pretty and fresh for the season!


To create this look, I started by applying the Stretch Concealer to my blemishes and under my eyes, slowly building the product up until everything was covered. To set that, I used Rimmel's Stay Matte. Next up, I filled in my brows using the Boy Brow, brushing through them and fully defining them. 

To make my lashes stand out with my defined brows, I used generous coats of the L'Oreal Telescopic Mascara to really lengthen them. 

Finally, to create that simple and sweet spring look, I used the YSL Rouge Volupte Shine in 'Coral Ingenious'.   


I really love how this look turned out and I loved using my new Glossier products to create something so cute and sweet!

What new brands have you been loving?

xo Emily

Current Concealers

Monday, January 11, 2016

Happy New Year everyone! It's been awhile since I've posted but I'm ready to get into the swing of 2016!

Today's post is all about my current concealers, of which I have a few. I think though, as I've gotten older, I've discovered a great mix of high-end and drugstore concealers that I use frequently. (note, I'm currently trying out, and loving, the Makeup Forever Full Coverage Concealer so it's not included)

Here are my three current concealers, three that are probably going to stay my favorites for years and years to come.

Concealer Favorites

I've been loving this concealer for the past few months because of how lightweight it is. Sometimes, I don't want to wear a lot of makeup but I do want to coverup some redness and blemishes. I love this product for that because it matches your skin really well and leaves you feeling as if there's nothing on your skin. Plus, it contains antioxidants to help clear up your skin and get rid of dark spots. At $8, this is a great drugstore concealer. 

Ugh. I don't know how it's humanely possible to say more good things about this product as I've featured it in posts about as much as my own face....but I'll go ahead and try. This product is just phenomenal. It covers blemishes and under-eye circles better than any other drugstore concealer and has a creamy and blendable consistency. The color range is fantastic - so it's easy to find your perfect match. Plus there are both brightening and neutralizing shades for specific concealing. And because I repurchase this so much (I mean, all the time) I love that it's affordable.


I wish blog posts had a better ability to convey my absolute LOVE for this product. I guess I can settle for using more exclamation points.... Anyways, I LOVE NARS and I LOVE this concealer. Ugh. There's an absolute reason it's so hyped up and trust me, I buy into it. (Literally since this is expensive as hell). I will say, despite the price tag, it's a product I continually buy because of the impressive ability it has to cover any and all blemishes, redness, and dark circles.

What are your current concealers?

xo Emily

Winter Simplicity

Monday, December 7, 2015

Hi guys! I have a quick and easy makeup look today that I like to call 'Winter Simplicity' because it's perfect for the season and it's so easy and simple. 

These five products below are the main components of this look. I love how this look complements any skin tone and works great for this time of year.

Because it's winter I went for face products that are a bit more moisturizing. I started with the Laura Mercier Tinted Moisturizer because it provides enough coverage and it's (as the name says) moisturizing. 

To conceal my under eyes and blemishes, I used Maybelline's Better Skin Concealer in 'Ivory' because it is lightweight but also gives me the desired coverage. 
I set my makeup using the Rimmel Stay Matte and then went in with another Laura Mercier favorite, the Baked Powder in 'Bronze'. For the highlight I used Tarte's 'Pink Champagne'.

As you can tell, my eyes are very simple. I blended 'Cover' a taupe/pink matte shade from the Naked Basics 2 Palette into my crease and then patted the same highlight 'Pink Champagne' onto my lid to bring out that pink I wanted in the look.


For mascara I used Maybelline's Great Lash, one of my all time favorites. 


To finish, I used a gorgeous deep pink lipstick from Burberry, '405' Nude Rose. This was a bit of a splurge but it's quickly becoming one of my favorite go-to lipsticks. It's a lovely lip color for Winter and it's so easy to apply (plus its moisturizing).


I love how this look turned out - I think it's so healthy and pretty. How would you do a Winter Simple makeup look?

xo Emily

Winterize Your Beauty

Thursday, December 3, 2015

Hello everyone and Happy December!

To start this post, I'd like to say I'm a creature of change - I always find myself switching up my wardrobe, my hair color, and most frequently - my makeup. As winter approaches (or gets even colder, depending on where you live), I find my makeup changing drastically. There's something about the cold weather that makes rich colors so much more beautiful to use in makeup looks. My fall color palette is equally as beautiful, but the transition from fall to winter is pretty substantial.


I thought I'd pair my makeup look with the beautiful 'Gerda Lingerie Set' from Adore Me. I love the brown because they pair perfectly with my winter makeup transition. Below are a few other combinations of sexy lingerie and makeup sets for Winter.


I love how it complements the makeup look I've created below...

For my look today I decided to focus on the 5 ways I transition my makeup from Fall to Winter and use those to create the look below.


1. Hydrating Primers 
With the cold of winter, using really hydrating primers is essential. The Clinique 'Superprimer' is one of my favorites because it gives me all day hydration and a great base for my makeup.

2. Golden Highlights
I tend to stray away from highlights in the summer but Winter is the perfect time to use beautiful shimmery highlights on the tops of your cheekbones. Golden highlights are best in Winter because they leave you looking healthy and glowing.


3. Shimmery Brown Eyeshadows
I think Winter makeup looks are all about the brown shimmery eyeshadows. The Tarte Holidaze Palette is a favorite because it has 'Shooting Star', the perfect shimmery brown that I'm wearing on my lids. I mixed 'Yule Be Surprised' and 'Mulberry and Bright' into my crease and brought 'Shooting Star' to my lower lash line.


4. Brown Smoky Eyes
Continuing on the brown trend, I like to do smoky eyes in Winter and using the Smashbox Always Sharp Kohl Liner in 'Sumatra' makes for a gorgeous smoky eye. 

5. Rich Berry Lips
Finally, I love deep berry lipsticks for Winter because it just complements the cold weather perfectly. One of my favorites is Mac's 'Whirl' Lip Liner. 


How do you transition from Fall to Winter makeup?

xo Emily

Autumn Glam

Tuesday, November 10, 2015

Hey guys! I have a Autumn Makeup look for you today - something I like to fittingly call 'Autumn Glam'. I call it that because it's a bit more elevated than my everyday look, I added some drama and flash, but it also has those beautiful Autumnal shades to make it seasonal!


To get this look:
1. I decided to go all out with makeup today so I started with one of my favorite moisturizing primers, the Clinique Universal Superprimer. 
2. I used a Real Techniques Sponge to apply my L'Oreal True Match Magic Lumi Foundation all over my face.
3. To conceal, I used NARS Radiant Creamy Concealer under my eyes and on blemishes.
4. Next I set my t-zone with the Rimmel Stay Matte powder.
5. Time to add color back to the face! I bronzed my cheekbones, temples, nose, and chin with Tarte's 'Social Butterfly' and then used their 'Amazed' blush on the apples of my cheek. For a highlight, I used 'Pink Champagne'. All of these face products came from Tarte's Holidaze Light of the Party palette.


6. Next up are eyebrows - which I shaped and filled in with my all time favorite, the Anastasia Brow Wiz Pencil.
7. For my eyes, I'm again using the Tarte Holidaze palette to create an Autumnal look. To start, I blended 'Yule Be Surprised' (a deep brown) and 'Mulberry and Bright' (a deep burgundy) into the crease, adding color and dimension. Next up, I patted the most gorgeous Autumn shade, 'Fireside Chat' all over my lid. It's a sparkly burgundy/brown shadow and look lovely when blended out with a matte brown or matte deep burgundy.
8. Instead of harsh liquid liner, which still would have added more glam, I decided to use 'Mulberry and Bright' to define my upper and lower lash lid. I also added a bit of 'Fireside Chat' to my lower lash line to bring the look together. 


9. Next, I coated my lashes with the Tarte 'Lights Camera Lashes' mascara - one of my favorites. It's lengthening and volumizing, making your lashes look magnificent.
10. To add extra glam, I popped on some Ardell fake lashes - the 'Demi Wisipies'. They look natural, but add lots of volume and glamour.
11. To finish the look, I used an Obsessive Compulsive Lip Tar 'Queen' for the finishing touch of glam. 


I absolutley love how this turned out. It's beautiful and luxurious and a perfect way to bring the colors of the season into your makeup!

xo Emily
Halloween Makeup Tutorial: Bitten by a Vampire

Monday, October 26, 2015

Hey guys! I have another Halloween makeup tutorial for you today and this one is probably the most simple of them all. I call this look 'Bitten by a Vampire' but you can honestly be anything creepy using this look. 

To start, do you regular base routine - except use a foundation that is about two or three shades lighter then your normal skin so you have that pale, dead, and gloomy look. 

Set your face with a powder - dead things usually aren't so shiny - and do your brows as you would normally. 


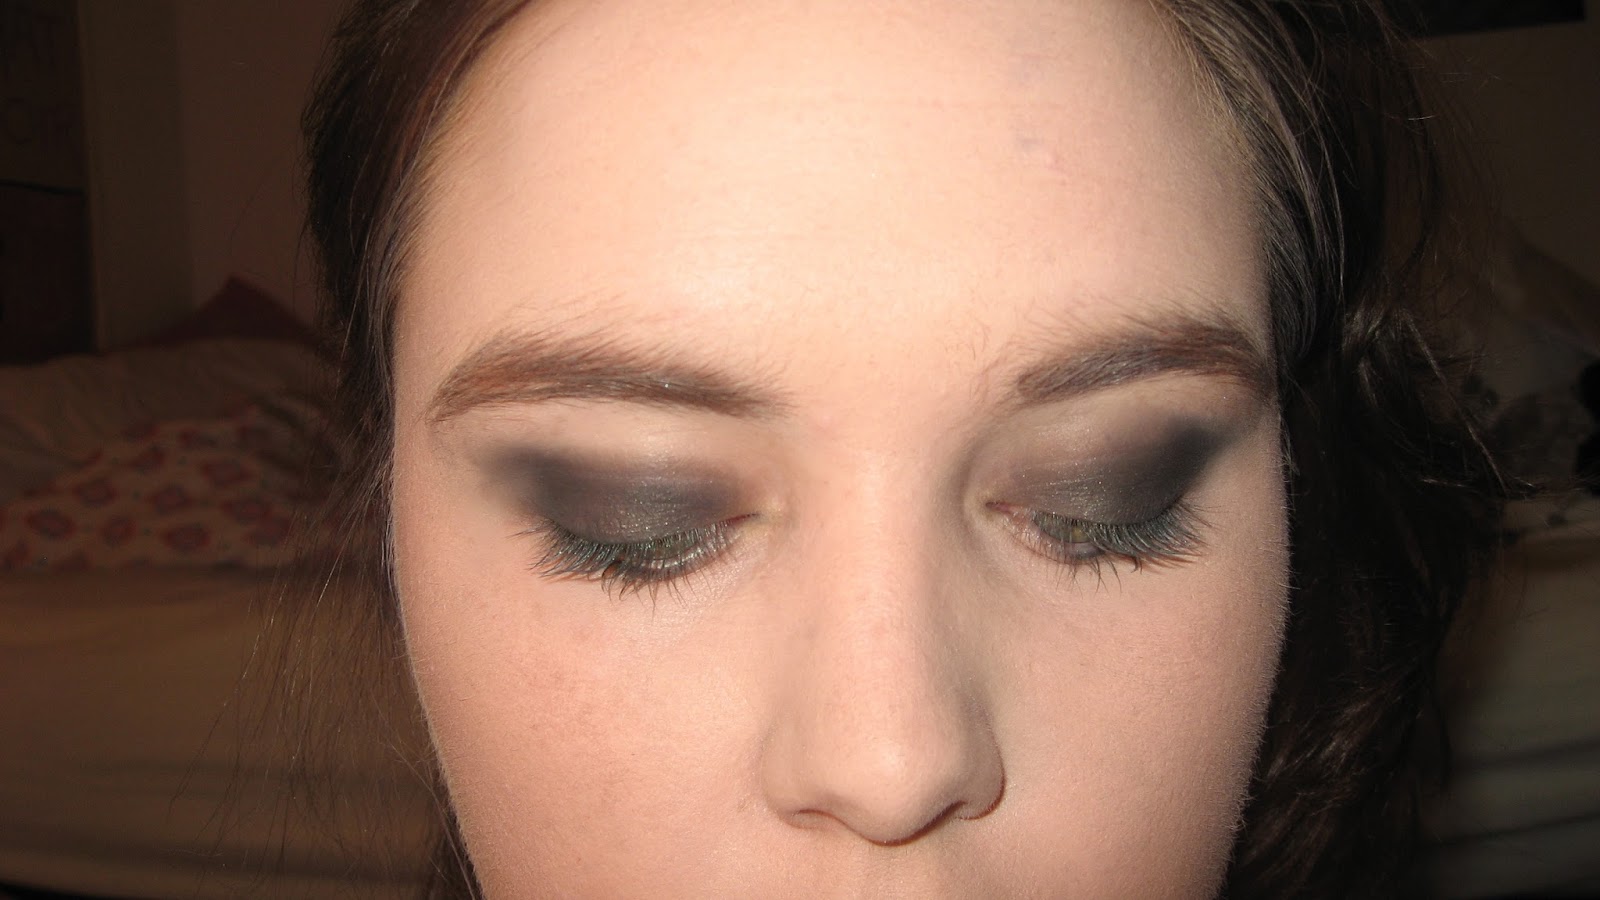
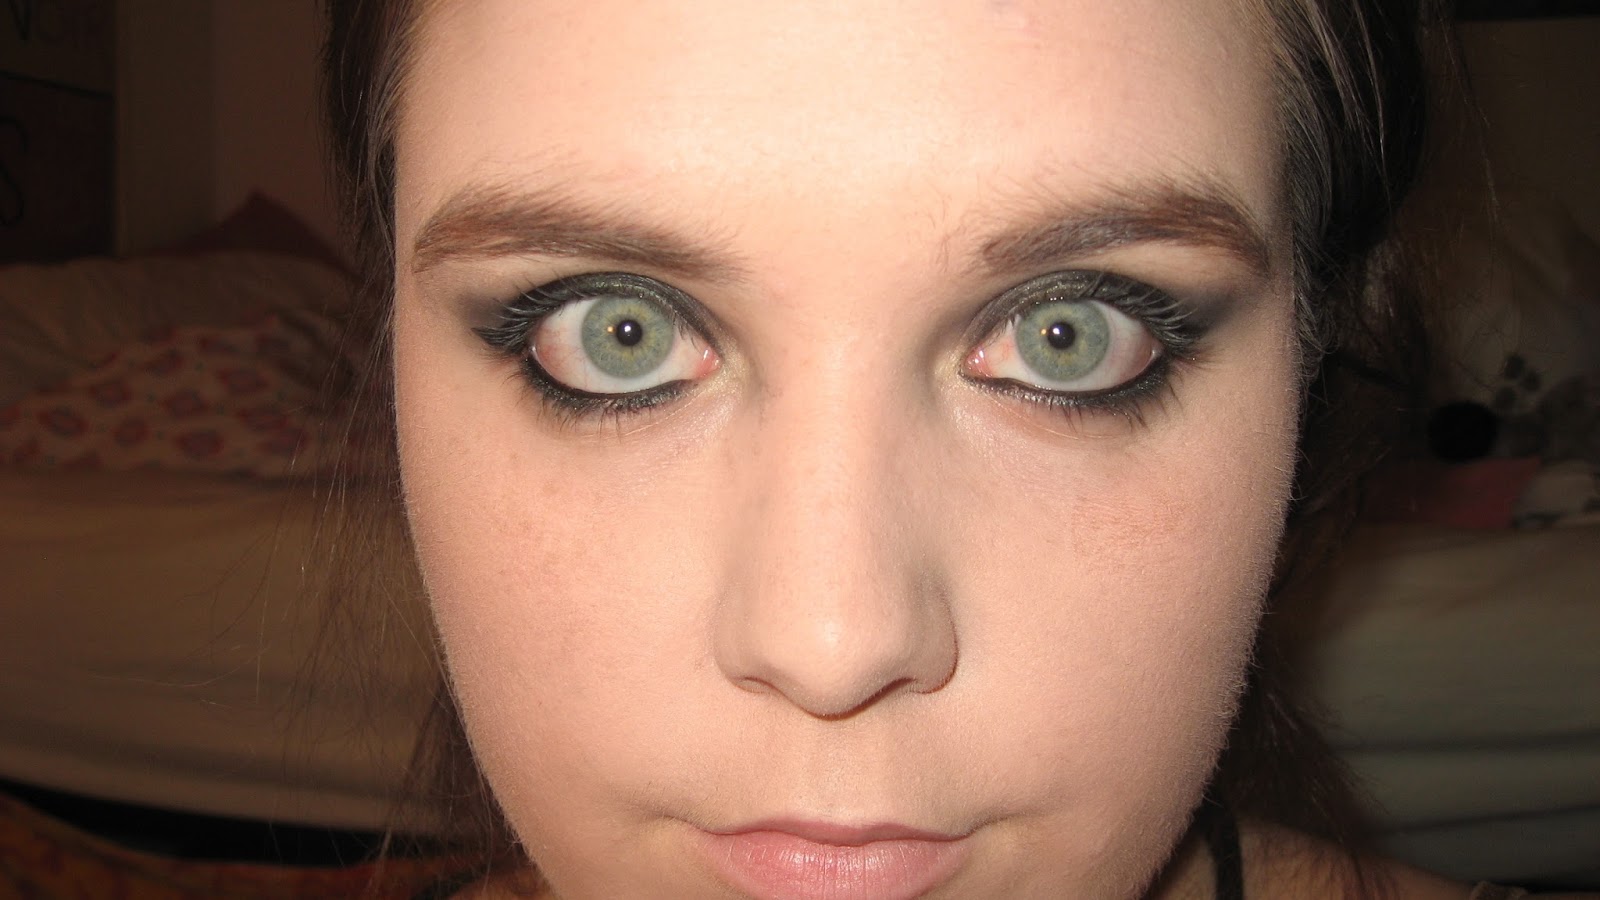
Next, line your upper water line and your lower water and lash line. Then, give yourself a black smoky eye. All I did was take a black matte shadow and slowly begin to blend it onto my lid - bringing the color into a cat eye shape, building its intensity as I went. 


Next, I lined my upper lash line with a liquid liner, giving myself a dramatic cat eye. 

  
Be sure to add generous coats of mascara!

Next, I went in with a black gel liner (you can usue a liquid liner, paint, or lipstick if you have it) to fill in my lips. I wanted to look dark and creepy and have the black in my eye and on my lips contrast with the white of my skin and the red of the "blood".

Finally, I added the "blood". I just used a red lipstick I had and smeared it out near my lip (as if I just fed for the first time) and created little bite marks on my neck. Feel free to use fake blood for this as well - it would actually look a lot more realistic than my lipstick.


I hope you guys liked this easy tutorial! 

xo Emily

Halloween Makeup Tutorial: Deer

Tuesday, October 20, 2015

Hey everyone! I have another Halloween makeup tutorial for you today. This look is for a deer and it's so easy (and cute!)

To get this look:
1. Use a bronzer to darken your temples, forehead and cheekbones. I used Too Faced's Chocolate Soleil Bronzer. It looks a bit silly as is, but once we put other shadows and products on top of it, it'll come together.

2. Using a brown gel liner, (I used L'Oreal's Infallible Lacquer Liner in 'Espresso') fill in your brows and from them, draw a line down your nose on both sides. Fill your nose/nostrils in a heart shape, creating the nose of a deer. You can google the shape and style online and draw off that.


2. Using a white shimmery shadow, fill under your eyes. Bring that shadow down until it naturally fades out. Bring the shadow up to you forehead as well. This is where we will place our dots. I used 'Snow' from the Lorac Pro Palette 2 to do this, but any white/silver/cream shimmery shadow works. 

3. Place this color up your nose between the two brown lines as well, as well as a bit on your chin and cupid's bow.


4. Using a white eyeliner, draw white spots on the places we already put white shimmery shadow - the temple, forehead, and cheeks. I used the Jumbo Eyeliner Stick from NYX.


5. Add your own makeup to your eyes to finish it all off. I did a brown smoky eye with the Stila Cosmetics Liquid Liner and Maybelline Great Lash Mascara. 


To finish off this look, it's easy to add accessories. Buy or create your own antlers and wear a nude leotard, using the same white spots to adorn it! Or, just wear a brown shirt and jeans and you're all set!

xo Emily