Showing posts with label today's face. Show all posts

Today's Face Tuesday: Bronze Goddess

Tuesday, June 17, 2014

Hey guys! It's time for another 'Today's Face Tuesday' post. I, for one, love doing these posts if only because I like experimenting with my makeup! Today's look was for a specific event I went to so I upped the glamour and sparkle! 

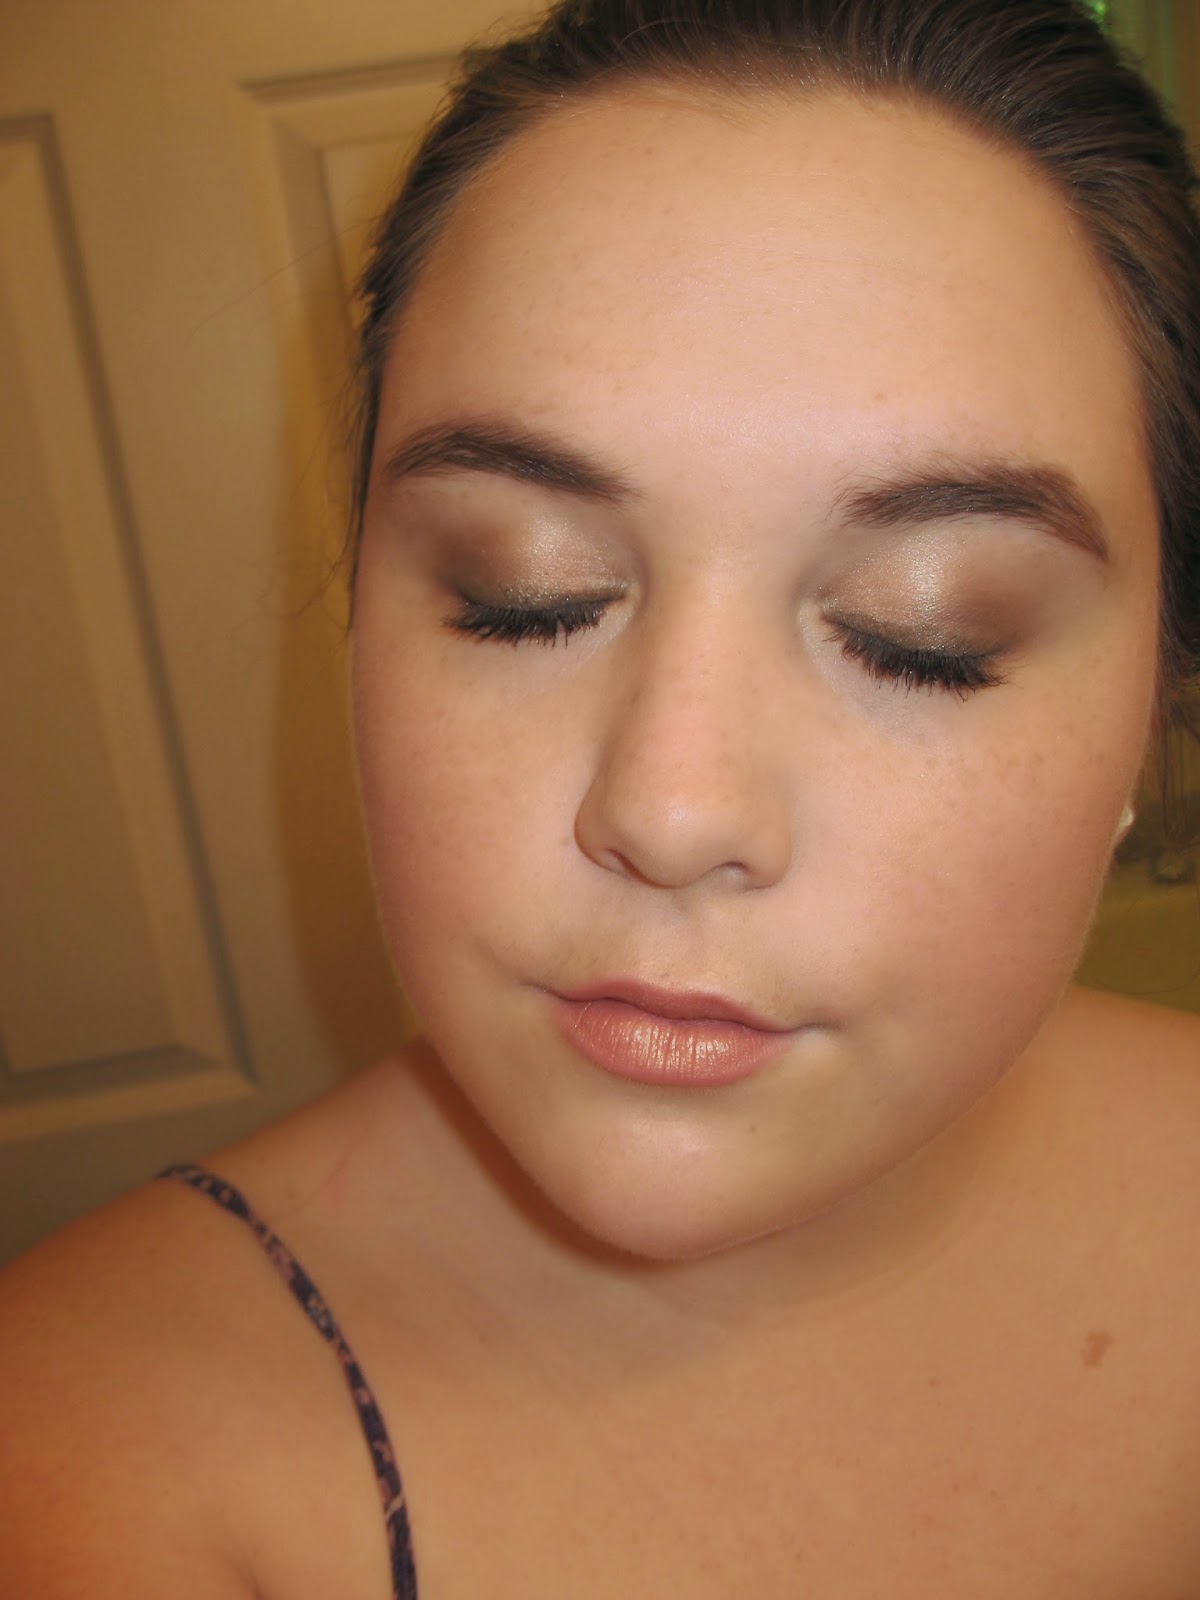
This is a classic summer look: bronzed skin, highlighted cheek bones, and a gold eye.

Here's the makeup look:


How I achieved this look:

1. I started out with my skin: I really wanted bronzed, shiny skin for this. After I moisturized, I primed my face with the L'Oréal Magic Lumi Light Infusing Primer - This will give you a very impressive, shiny glow. I particuarly like using this primer when I want to go for that bronzed look, just because of it's ability to make you glow (without looking too sweaty and shiny). 

2. Next, I went in with the Maybelline Dream Fresh BB Cream and buffed that into my skin. I actually went for a shade darker - light/medium - because this gives me a warmer skin tone, especially since my skin is a bit tanner than it was (it also fits in with the whole 'bronzed' vibe I was going for).

3. Concealers! I used two: the Maybelline Instant Age Rewind and Maybelline Fit Me. I used the Fit Me concealer to conceal my under-eye area and used the Instant Age Rewind in the 'brightener' shade to highlight my under eyes, cupid's bow, bridge of my nose, and the area above my nose. I wanted to set this with a powder to keep it put, but I also wanted to keep the shine and glow to my face so I just used a little bit of my Rimmel Stay Matte Translucent Pressed Powder under my eyes and on my chin.


4. Bronzer + Blush: I used my faves for this look. I went in with a Real Techniques contour brush and used my Rimmel Bronzer in Sun Light to contour my cheek bones. I went in with another coat of this because I really wanted that contoured, bronzed look. In addition to my cheek bones, I brought the bronzer along my chin, my nose, and my temples. My fave blush, Benefit's Rockateur, is perfect for this look, especially because it has little shiny flicks of gold in it. I just used a big, fluffy blush brush to apply this to the apples of my cheeks and along my cheekbones.

5. Highlighter: Sephora Baked Illuminating Powder in Light Beam - This is such a great highlighter. There is so much of this and I love the sparkle and shine it gives. All I do is use a small brush or my fingers and place this on the top of my cheeks, my cupid's bow, and down the bridge of my nose. Those are all the places your face naturally catches light, so it'll look amazing when you're in the sun!

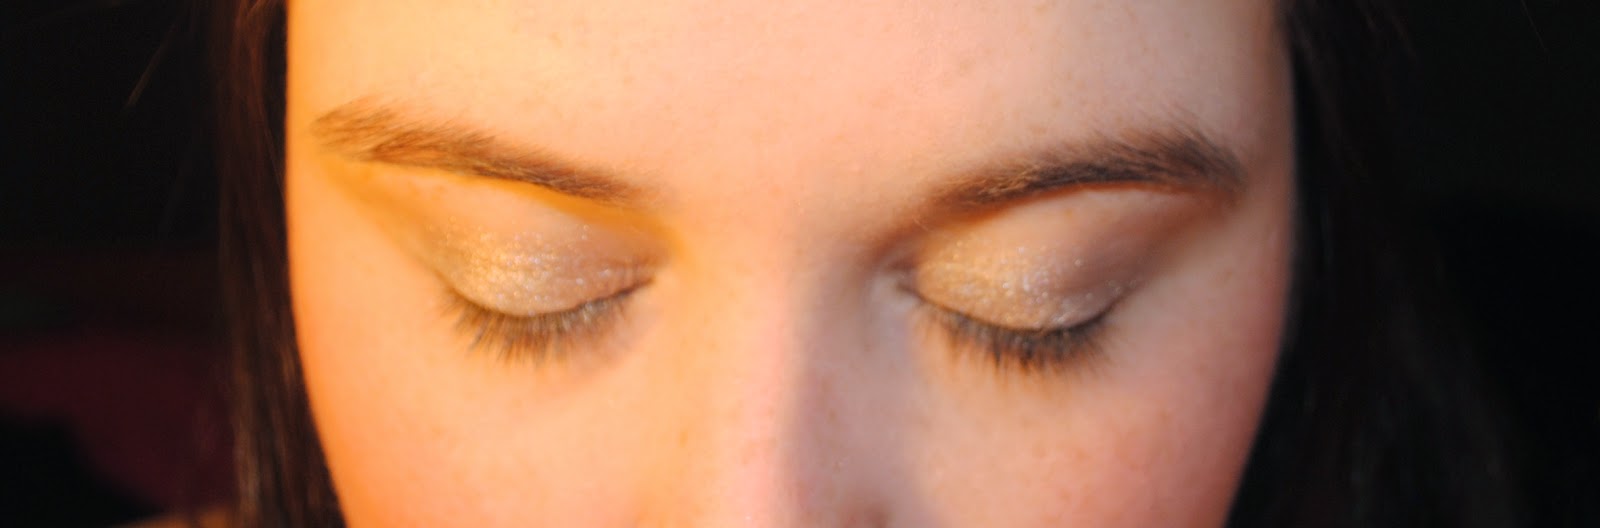
6. After finishing up my face, I moved onto eyes! After priming my eyelids with the e.l.f. Essential Eyelid Primer, I used a few different shadows to create a bronzed/gold look. I started with the Pop! Goes the Shadow eyeshadow in champagne. I used a small, flat brush to apply this all over the lid, bringing it slightly into, and above the crease. 


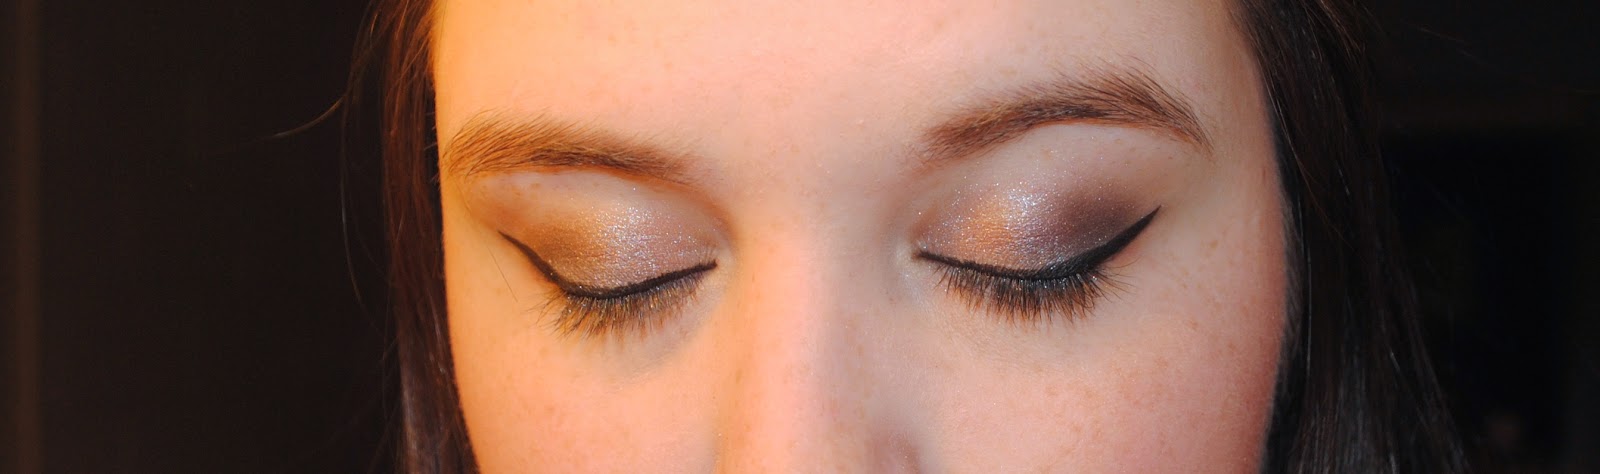
7. Next, I went in with my Tarte Golden Days and Sultry Nights palette. First, I used a big, fluffy blending brush and brought the matte brown color into my crease and blended it out until I had enough definition. To do this, I started with a small amount on my brush and dipped that from the outer corner to my inner corner. I repeated that a few times until I had enough brown. Next, I went in with the first shimmer shade, gold, and took a very small brush and packed that on, keeping it out of my crease. I then took that big, fluffy blending brush again and took the third shimmer shade, the dark brown and again just blended that into my crease, focusing the color in the outer corner. 


These swatches barely do the palette justice but you can see that shine, bright and clear!


After I achieved the right amount of definition in my crease using those two browns, I went back in with the gold color and patted another bit on, just to really keep it pigmented, golden, and lovely.

8. Satisfied with the eye shadow, I next went in with my Anastasia Brow Wiz and filled in my eyebrows. I didn't over do the brows today, wanting the focus to be on my glowing eyes! After the brows finished, I again grabbed my Sephora highlighter that I used earlier and used my finger to highlight my brow bone and inner tear duct.

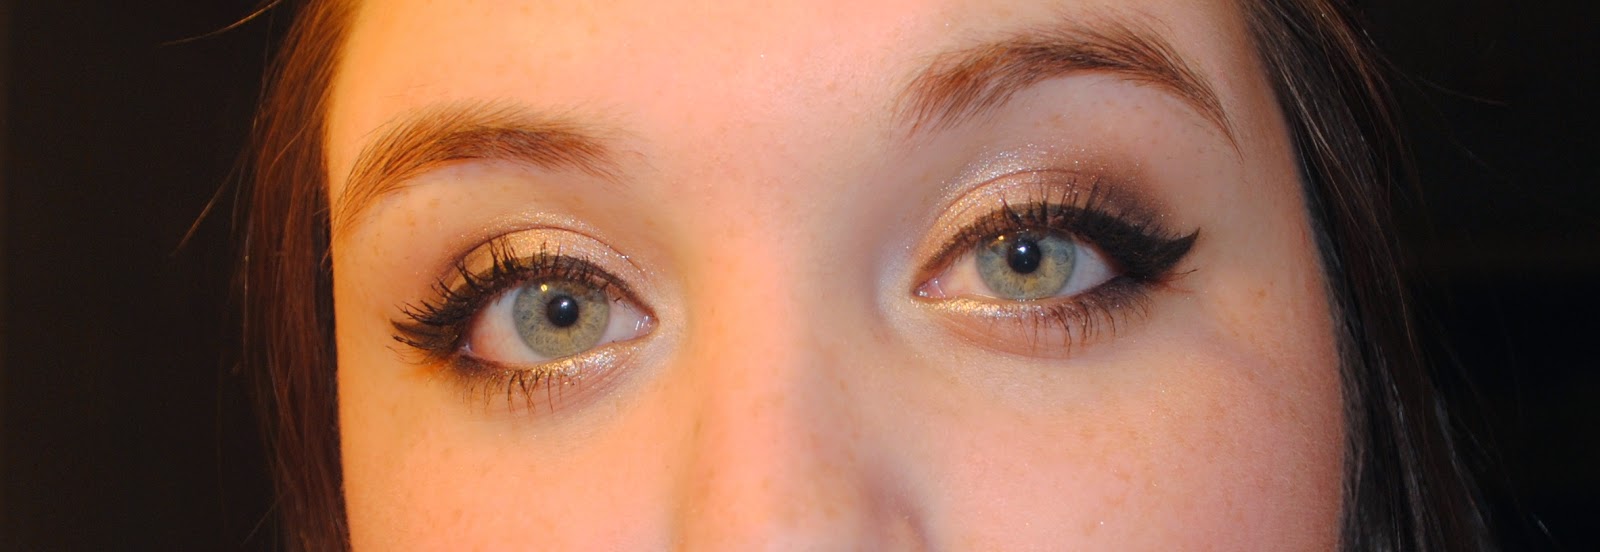
9. Time for eyeliner and mascara! Today I used the Maybelline Master Precise Liquid Eyeliner and gave myself a pretty long, intense cat eye over top the eye shadow. Then I coated my lashes with my favorite mascara at the moment - Smashbox's Full Exposure Mascara


And there we go! Those are the steps I used to achieve my bronze goddess makeup look for today!

I absolutely adore this and I cannot stop wearing this look! It can be modified to fit any look at any time or day or for any event! I'm loving it.


Hope you all enjoy 'Today's Face'.... I'm obviously loving it!

xo Emily

Today's Face Tuesday: An Everyday Summer Makeup Look

Tuesday, May 20, 2014

Today's Face: Tuesday 
My Everyday Summer Makeup Look

In today's makeup post, I'm showing you my go-to summer makeup look. Since it's hot and humid out during the summer, this look is really simple, light and perfect for sticky weather. 

The Before Look 

Again, like in my other makeup looks, I start with moisturizer and primer and then foundation and concealer. For today, since I want my complexion glowing, I'm using the L'Oreal Magic Lumi Light Infusing Primer which basically makes your face shiny and glowy (which is perfect for this look). Next, I went in with the Maybelline Dream Fresh BB Cream instead of full foundation because BB cream is much lighter on the skin, has lower coverage, and contains sunscreen which is absolutely perfect for sunny, summer weather. 

My face post-BB Cream

Face Thingies!

Next, I went in with my Maybelline Instant Age Rewind Under Eye Concealer and covered my (cute as heck) under eye circles. I then went in with the same concealer but in the 'brightener' tone and popped that on my t-zone, upper lip, and under eye area just to brighten up my look.


I used the Maybelline Instant Age Rewind concealer and brightener for my under-eyes

My pressed powder, blush, and bronzer that were used in this look

 Next, I use just a TINY bit of Rimmel Stay Matte Pressed Powder to set my BB cream and concealer. I used enough to keep the concealer staying all day but not too much so that I would lose the glow from the primer and BB cream so that I would keep that summer glow. To brighten and color up my face, I used my e.l.f. studio contouring blush and bronzing palette in the color St. Lucia. I absolutely adore this palette not only because it's $3.00(!!!!!!!!!) but also because it's beautiful! So using that, I gently bronzed my face, cheeks, and temples and then blushed up the apples of my cheek.

 Now for eyebrows!!! I've been trying out the Milani EasyBrow to fill in and shape my brows. It's a really affordable product and is easy to apply! I'm loving it so far. 


To do my brows, I first use the spoolie side of the EasyBrow to shape and tame the caterpillars. Then I use the other side of the brush to actually fill in the brows so that they don't have any gaps in color. After that, I go in with a dark brown eyeshadow to just smooth it out and finish with my Sonia Kashuk Brow Gel to set it all!

Here's the look with my brows done up!

It's time for my eyes! Because I want the look to be subtle, sweet, and summery, I'm using a light pink/champagne eyeshadow all over my lid. It's shimmery and soft which is perfect. To darken up the look and give it dimension, I used brown in the crease and just blended that out. Instead of a harsh eyeliner, I took that same brown eyeshadow and just lined my upper lid slightly.


Lastly, I used Benefit's They're Real and Maybelline Pumped Up Colossal Volume Mascaras and made my lashes really dark and pretty.


To finish, I made sure my lips were coated in Chapstick and then I went in with a peachy blush and gave my lips a little bit of sparkle using it.

The finished look:


Hope you all enjoyed this look!!!

xo Emily

Today's Face Tuesday: Dark and Stormy

Tuesday, April 22, 2014

Today's Face: Tuesday 
A Pink Touch: Makeup Look

In today's post, I'm doing a look I like to call "Dark and Stormy". It's a really shimmery and sparkly silver and black look with just a tiny bit of shiny pink tossed in. I finish the look with a frosty, sweet pink lipstick. The look is perfect for an everyday, more dramatic look or for a fun night out!

Again, like in my last Today's Face post, I start with moisturizer, primer, and then my foundation routine. Feel free to use whatever foundation and concealers that work the best for you but today's look is best with your skin looking nice and flawless and matte. For the best results, I'd finish your foundation and concealer with Rimmel's Stay Matte Pressed Powder because it gives you the perfect finish to your skin. (It's also really cheap and lasts forever, a must-buy in my opinion!) Next is touching up the eyebrows then I go in with a bit of bronzer and blush and voila! Face is ready for eye makeup!

Before! (Look how matte my skin looks!!)

After I do all that, I just prime my eyes with and start in with a base eyeshadow. I used a light pink matte shade from the Naked 3 palette called 'Limit' and place that all over my lid and up into the crease a bit.


My lid with just 'Limit'

Next I go over just the lid (not the crease) with the silver shadow from L'Oreal's Studio Secrets HiP Studio Secrets Metallic Eyeshadow Duo in Platinum. I love this duo because you've got the most gorgeous, sparkly silver color and an equally gorgeous black color that works amazingly well with the silver. 

This is a very well-loved eyeshadow
I go over my lid with the silver shadow on the left. Black will be used later!

Here's what the silver adds. The picture doesn't do it justice but everything just sparkles beautifully. Note that I only put the silver on my lid, not the crease.


Next, we'll go in with the the Naked 3 palette again with the color 'Blackheart', the very darkest shadow in the palette. I love this color because it isn't as really as dark as black, but more of a dark dark purple with little specks of gold. 


We'll take Blackheart into the farthest side of our lid (near where our eyebrows end) and pat that on very very lightly and then go in with a big, fluffy blending brush and blend blend blend away! 


Take Blackheart up into your crease and it'll give really great definition to the look, giving it a twinge of pink and purple. 

Next, we'll go back to our metallic eyeshadow duo but this time take the black shade and bring that on top of Blackheart and blend blend blend it out even further, darkening up the look. 


I find the best thing to do when you're using a dark black is to go in with it on top of another dark color and just keep adding and patting it in until you get the darkness you want. It's always easier to add more black and not so easy to take black off your lid.


Now, we can't forget liner so we're just going to add a deep wing using Maybelline's Master Precise Liquid Liner, making the line fatter and fatter as it gets closer to the wing. I touched up the look with NYC's liquid liner as well as added a highlight on my brow bone and inner eye with the NYX white eye liner pencil.

To finish the look, add whatever your favorite mascara is. Today I used a few coats of Maybelline's Mega Plush Volume Express Mascara as well as They're Real by Benefit. 


And if you so choose, you can add a lipstick or lipgloss. I'm wearing MAC's Frost - Angel which is probably my most favorite lipstick I've EVER owned. If you can get your hands on this lipstick, BUY IT. I love it so much.

It's such a simple, pretty pink that works with literally any look. 

My pride and JOY!

Voila! We're done!!!  

The Final Look!
So that's today's face. Let me know if you like the look because it's one of my favorites and a go-to look quite often!


Yikes! I should go clean up the mess I made!!! Hope you guys enjoyed :)

xo Emily


Today's Face Tuesday: A Pink Touch

Tuesday, April 8, 2014

Hey friends!

In today's post, I'll be showing you one of my favorite makeup looks that I've been perfecting over the past few weeks. It's a pink-toned look that is perfect for spring and warm weather.

Before I do anything, I start out by using a face moisturizer. Currently I'm using the First Aid Beauty Ultra Repair Cream which I bought at Sephora and honestly it is one of the best moisturizers I've ever used on my face. I have naturally dry and sensitive skin and this works like a dream on my face. It's a bit pricey but you only have to apply a thin layer and you'll stay moisturized all day so it's definitely worth the price in my opinion. 

From the left; primer, foundation, and concealer

Next, I go onto my face essentials. Basically these are the things that go across my face to "fix" imperfections. Before foundation, I make sure to apply primer. This isn't a necessary step but if you're going to be active all day and want your face makeup to stay put, I would use a primer. There are lots of amazing primers from both the inexpensive to the more pricey side. My personal favorite is from Clinique's line of primers. The universal Superprimer is my number one choice because I don't need to correct much discoloration or redness.  If you have these problems, they have four or five other primers that can fix these problems! 

My favorite ways to apply concealer and foundation: my Real Techniques brushes and beauty blenders! Using your ring finger also works well for concealers!
My current foundation is something new I've been trying out, the L'Oreal Magic Nude Liquid Powder. I don't wear a lot of foundation and I have a lot of trouble matching my skin tone so I have to try out a bunch of different brands and this is currently what I've been testing out. I apply the foundation all over my face and then use my Real Techniques buffing brush and just buff it into my skin until it's completely blended. 

I then go in with my Maybelline Instant Age Rewind under eye concealer which I use because being a college student, I get incredibly bad dark circles. This stuff really works, I've already gone through two tubes. Lastly, I use my concealer, which is currently the NYX HD Photogenic Concealer, and just dab that in my problem areas and blend it in with my ring finger.


My favorite pressed powder, the Rimmel Stay Matte

Next, I go in with the Rimmel Stay Matte Transparent Pressed Powder to just set all my face makeup in place and remove the shine from my face. Also during this step, I sometimes use bronzer to contour and warm up my face as well as blush. Lastly, I go in with a highlighter on the top of my cheekbones to define my face. 

Now, onto eyes!


The essentials

For today's look, I used my Naked 3 palette which has a bunch of really amazing pink under toned eye shadows in both matte and glittery/shimmery shades. 


I went in with a e.l.f eye primer first and then covered my lid with Nooner using the Real Techniques base shadow brush and then went in with a shimmery pink color, Buzz. 


Next, I worked Mugshot and Blackheart into my crease using the deluxe crease brush and blended it out until there were no harsh lines between the two shades. Lastly, I went in over the entire lid with the color Dust, a glittery pink shade


The last step for eyes was eyeliner and mascara. Today I used the Maybelline Eye Studio Gel Liner in a thin line on my upper lid and then flicked it out for a subtle cat-eye. I then went in over that line with the Maybelline Master Precise Liquid Liner just to darken it up. I also used the NYX White Eye Pencil in my inner eye to brighten and highlight my eyes. Lastly, I used the Benefit They're Real Mascara all over my top and bottom lashes.


Here's my SUPER SEXY before face

First step, the eyeshadow across my lids

Next, added eye liner

Lastly, mascara finishes the look

Here's my final face (excuse the headphones)

So that's today's face. Let me know if you like the look and whether I should do another one of these posts. I've been really enjoying using my Naked 3 palette to create pink toned looks that work really well during the spring time so it's fun to experiment with different looks. 

Now, I've got to get back to my episode of Lost (which I'm currently re-watching) so I must be going. Thanks for reading!

xo Emily