Showing posts with label eyeshadow. Show all posts

New In: Too Faced Everything Nice Holiday Palette

Tuesday, November 18, 2014


I've got a new product to talk about today and it's one that I've been eyeing ever since it was announced as a special holiday palette. It's the Too Faced 'Everything Nice (that's what pretty girls are made of)' Palette and it's gorgeous. It's from their Christmas Collection and retails for $56, with a value of $450. I must say, the price is right


The palette comes with 20 eyeshadows, one bronzer, two blushes, and one illuminating powder as well as three mini brushes, a mini mascara, and a makeup bag. 

I'm going to talk about each product included in the palette along with swatches and photos of everything. Keep reading if you want to learn more about this palette.

Purple Purple Purple

Monday, October 6, 2014

Do any of you all remember that episode of Gilmore Girls in season 4 when they're talking about designers for the inn and the "purple, purple, purple" guy? No? That's okay, I'm a Gilmore Girls fanatic and it's one of my favorite lines you probably would never remember but my sister and I quote it to each other all the time! That's really besides the point (GILMORE GIRLS IS ON NETFLIX NOW) but basically today's post is a super fun eye look I did. It's centered all around (you guessed it), purple!!! 


I love how this turned out - especially with the bold lip. I think it came together nicely and it's such a fun look to try and pull off :)


To create this look:

I'm going to be using the Sephora Moonshadow Baked 'In the Tropics' palette - focusing on the three purple shades pictured! (I really love this palette - it's got such a nice array of color that looks lovely on the lid.) Don't worry if you don't have these colors or if you don't have purple at all - that's okay - just try this look with whatever shadows you have. (Variations on gold shadows look awesome!)


1. Prime your eyes. It's going to be a lot of color so we want it to look as vibrant as possible! Priming your eyes helps achieve that and makes your eyeshadow last all day without creasing. I used L'Oreal's De-Crease Shadow Base.
2. Run a light matte or shimmery shade across your lid. I opted to use 'Venus' by Urban Decay. 
3. Taking a flat eyeshadow brush like this one, wet it slightly. Then we're going to go in to our Sephora palette with the lightest of the three purple shades. Pat this across your entire lid so that you've got a vibrant purple across your eye.
4. Begin to define the crease using a soft matte brown or grey. I took 'Faint' on a tapered blending brush, running it across my crease in windshield wiper motions. Don't pick up too much product as you blend into the crease - you can always add more!
5. Next, take your flat brush again with the second darkest purple shade. Make sure your brush is still wet and then pat this into the outer corner of your eye, as if you were putting on eyeliner. We want to create a very natural fade from light purple to dark purple.
6. Go back in and add more of your matte shade to your crease, blending it completely.
7. Now, take the darkest purple in the palette and using a pencil brush, run it across your top and lower lash line and then create a subtle wing. Then blend out that dark color with your big fluffy blending brush.


8. Finish the eyes off with mascara or add some liquid liner if you choose!
9. Finally - let's add some major drama to our lips. I'm using MAC's 'Cyber' and it's damn cool and looks so fierce on. 


Voila! Purple, purple, purple!


xo Emily

♡ Love in Rio ♡

Saturday, July 26, 2014

No, I'm not actually in Rio (I wish), but instead I'm using the NYX Love in Rio Eyeshadow Palette to create todays makeup look! 


I'm a big fan of this eyeshadow palette because it's inexpensive ($4-5) and because it's gorgeous, super blend-able, and is perfect for an everyday look!


It comes with three shadows. The lightest shade is a shimmery soft pink that's great for the entire lid and for highlight. The second shade is my favorite of the palette, a gorgeous shimmery taupe color and I love it for a crease color. The last shade is a matte black shadow that is great for lining both your upper and lower lash lines!

Look how great these swatch!
I love this palette because it's so so simple to create a classic, beautiful look with just two shades! 


All I did to create my look was patted the white shadow all over my lid and then took a big, fluffy blending brush into my crease with the taupe color. To finish, I lined my lower lash with the black shadow and then highlighted my brow bone and inner corner of my eye with the white shadow!


I love how this look turned out and I'm especially happy it was so affordable!

Check out NYX shadows! They're great products!


xo Emily

A Pop of Blue: Face of the Day

Thursday, June 26, 2014

Hey guys! Today I'm coming to you after watching a very exciting World Cup match! USA vs. Germany didn't dissapoint! I was obviously rooting for the U.S. to win, but I love Germany's team as well so I'm really glad both teams qualified!

Today's is a short post and I'll just show you my 'Face of the Day'. A more apt description would be 'eyes of the day' since that was the focus! 

I used two main eyeshadow duos for this look, which kind of became my focus!

I used the Ulta Baked Eyeshadow Duo in 'Deep Blue Something' which is this gorgeous duo, one dark blue shade and one "oceanic" shade (which is what it looks like to me). It's sparkly and gorgeous! Ulta had a 2 for $8 sale on eye products so it was a great deal! 


I also used the L'Oreal Studio Secrets HiP Professional Metallic Duos in the shade 'Platinum'. It has one super shimmery silver side and a black shimmer side. I love these eyeshadows.


I really love how this look turned out. The sparkle of the shadows looks both blue, silver, and grey and makes for such an amazing shine. 

I just used the lighter blue side of the Ulta shadows for my inner eye, then blended out the dark blue in my crease, adding the black shimmer shade from the Metallic duo. Lastly, I packed on the silver shade from the Metallic duo on the center of my lid.


Easy easy easy.

And because it's all the same type of 'shimmer' shadows, they all blended together nicely.


Hope everyone has had a great day so far!

xo Emily

How To: Fake A Good Night's Sleep! (Part 1)

Monday, May 26, 2014

Hey guys! Hope you all have had a good nights sleep.....unlike me.

Today is the start of a few blog posts I'm going to do all centered around How To: Fake A Good Night's Sleep! As a college student, I am often going to bed way too late and even have to pull a few all nighters every once and awhile. Basically, because of my bad sleeping habits, I've accrued quite a few tips and tricks in order to get through my day when I haven't had enough sleep! 

So for today's Part 1 of How To: Fake A Good Night's Sleep! blog post series, I'm join to show you tips for your skincare and makeup today. These will not only look awake, feel awake, and get some of the same benefits of sleep without actually sleeping!

So let's get to it!!! My day started around 8:00 AM after I (unfortunately) pulled an all-nighter. Maybe it was the combination of sleeping in and too much caffeine, but I just could not fall asleep last night :( 


Let's begin! So as you can see above, I've got a bare face and pretty impressive under eye circles that are such a lovely shade of purple! So let's do something about it!

As soon as you are ready to start your day after your short sleep (or lack of sleep), here are a few tips I've got for starting out your skincare for the day!

1. Drink 1 or 2 whole glasses of water as soon you wake up (it will replenish your skin, giving your skin moisture and nutrients it needs - especially since it lost those in the night)
2. Take a cold shower - the cold will make your skin and you awake! 
3. Use a coffee scrub or a face cleanser with bursting bubbles (like clean and clear's morning burst cleanser - it'll wake you and your skin up)
4. Use a face wipe or cleanser with cucumbers like the wipes below (or cucumber slices themselves) - they help depuff tired eyes and skin


Now that we've showered, cleansed our face, and moisturized it, it's time to get to our makeup! The first thing I used was the Garnier Anti-Puff Eye Roller to get rid of pesky under eye puffiness! Then I primed my face with the L'Oreal Magic Lumi primer in order make me look a little less pale and a little more alive.

For foundation, it's better to go with a light, BB cream when you're without sleep so I used this one by Garnier.


Now time to tackle those HORRIBLE dark circles. Now that they've de-puffed as much as they will, I'm going to go in with Maybelline's Age Rewind to cover up the purple and then in with the brightener shade on my forehead, nose, cupid's bow, and cheek bones to detract from my circles. Because I got no sleep, I went in with another brightener/concealer this time by Collection.

I set my under eye foundation with a yellow eyeshadow. Yellow eyeshadow is perfect for fighting dark discoloration, like from lack of sleep under your eyes. The rest of my face was lightly set with a pressed, matte powder.


My finished foundation and concealer is above and as you can see, I have taken care of my  under eye circles! But, I now look especially pale and washed out so I'm going to need to add bronzer, blush, and an illuminating highlight.


I used the N.Y.C. sunny bronzer on my cheek bones, temples, down my nose, and on my jaw because I really needed a natural, sunny warmth back in my face! Then, I just used a simple peach blush on the apples of my cheek to warm me up further. To finish off my face makeup, I used the Sephora brand highlighting powder on the high points of my face.

And voila, color is back in my face!


My last step is my eyes! When you haven't had a lot of sleep, you should not be wearing dark eye makeup, only light shades. So I went in with champagne pink all over my lid and then used my sunny bronzer as a shadow in the crease. I finished with white eyeliner on my bottom waterline and inner tear duct to brighten everything up! 


Look how not - dead I look!


My final step in my How To: Fake A Good Night's Sleep (makeup edition), is LIPSTICK! This is important when you want to detract from sleepiness. It brings the eye down, away from said circles.


I used Revlon's Pink Velvet Creme Lipstick which is just a beautiful soft and creamy lipstick, right between a red and pink shade!


And here we have the finished look!!! Not bad for someone who hadn't slept the night before and had some pretty SEXY under eye circles!


I hope this blog post helped with faking your skincare and makeup when you haven't had any or much sleep. These steps are really really easy and are tried and true tips from yours truly (I have a lot of experience in lack of sleep) so I think these will make a huge difference!!

Hope you all enjoyed the post! Now go take a nap! 

xo Emily


 (Do y'all like my shirt?)


Today's Face Tuesday: An Everyday Summer Makeup Look

Tuesday, May 20, 2014

Today's Face: Tuesday 
My Everyday Summer Makeup Look

In today's makeup post, I'm showing you my go-to summer makeup look. Since it's hot and humid out during the summer, this look is really simple, light and perfect for sticky weather. 

The Before Look 

Again, like in my other makeup looks, I start with moisturizer and primer and then foundation and concealer. For today, since I want my complexion glowing, I'm using the L'Oreal Magic Lumi Light Infusing Primer which basically makes your face shiny and glowy (which is perfect for this look). Next, I went in with the Maybelline Dream Fresh BB Cream instead of full foundation because BB cream is much lighter on the skin, has lower coverage, and contains sunscreen which is absolutely perfect for sunny, summer weather. 

My face post-BB Cream

Face Thingies!

Next, I went in with my Maybelline Instant Age Rewind Under Eye Concealer and covered my (cute as heck) under eye circles. I then went in with the same concealer but in the 'brightener' tone and popped that on my t-zone, upper lip, and under eye area just to brighten up my look.


I used the Maybelline Instant Age Rewind concealer and brightener for my under-eyes

My pressed powder, blush, and bronzer that were used in this look

 Next, I use just a TINY bit of Rimmel Stay Matte Pressed Powder to set my BB cream and concealer. I used enough to keep the concealer staying all day but not too much so that I would lose the glow from the primer and BB cream so that I would keep that summer glow. To brighten and color up my face, I used my e.l.f. studio contouring blush and bronzing palette in the color St. Lucia. I absolutely adore this palette not only because it's $3.00(!!!!!!!!!) but also because it's beautiful! So using that, I gently bronzed my face, cheeks, and temples and then blushed up the apples of my cheek.

 Now for eyebrows!!! I've been trying out the Milani EasyBrow to fill in and shape my brows. It's a really affordable product and is easy to apply! I'm loving it so far. 


To do my brows, I first use the spoolie side of the EasyBrow to shape and tame the caterpillars. Then I use the other side of the brush to actually fill in the brows so that they don't have any gaps in color. After that, I go in with a dark brown eyeshadow to just smooth it out and finish with my Sonia Kashuk Brow Gel to set it all!

Here's the look with my brows done up!

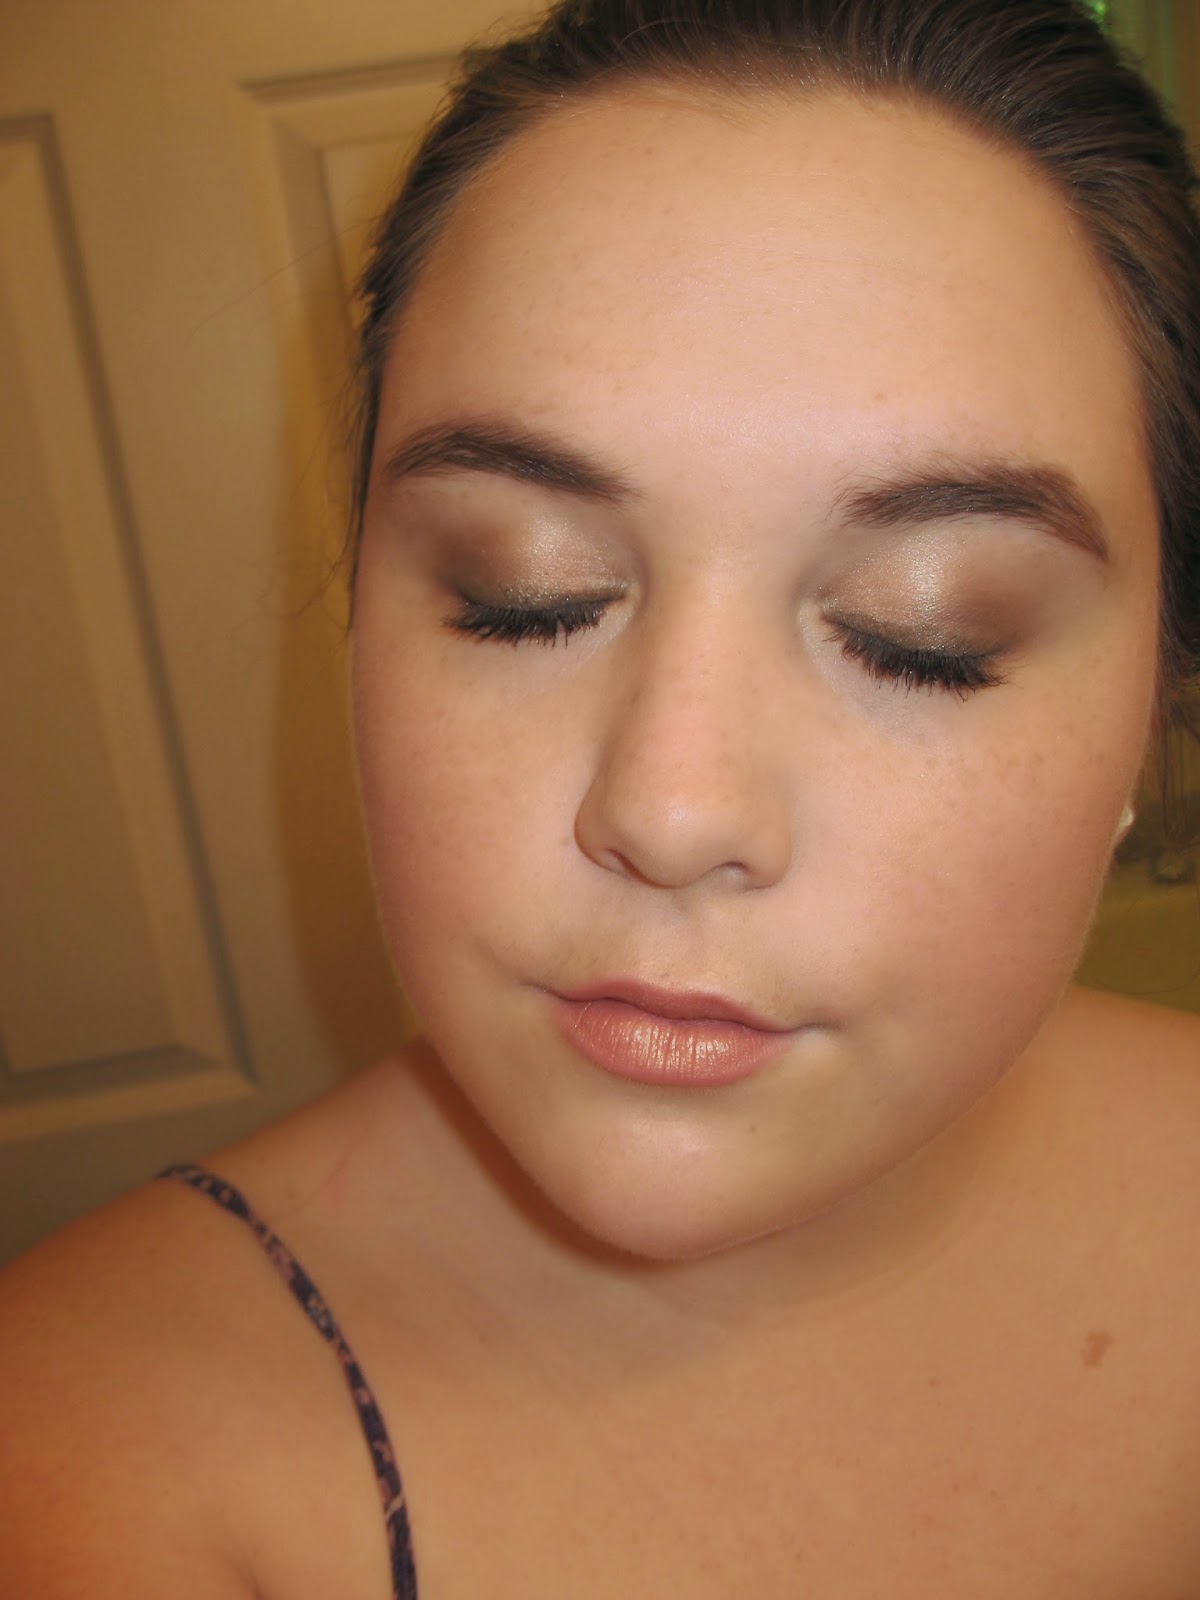
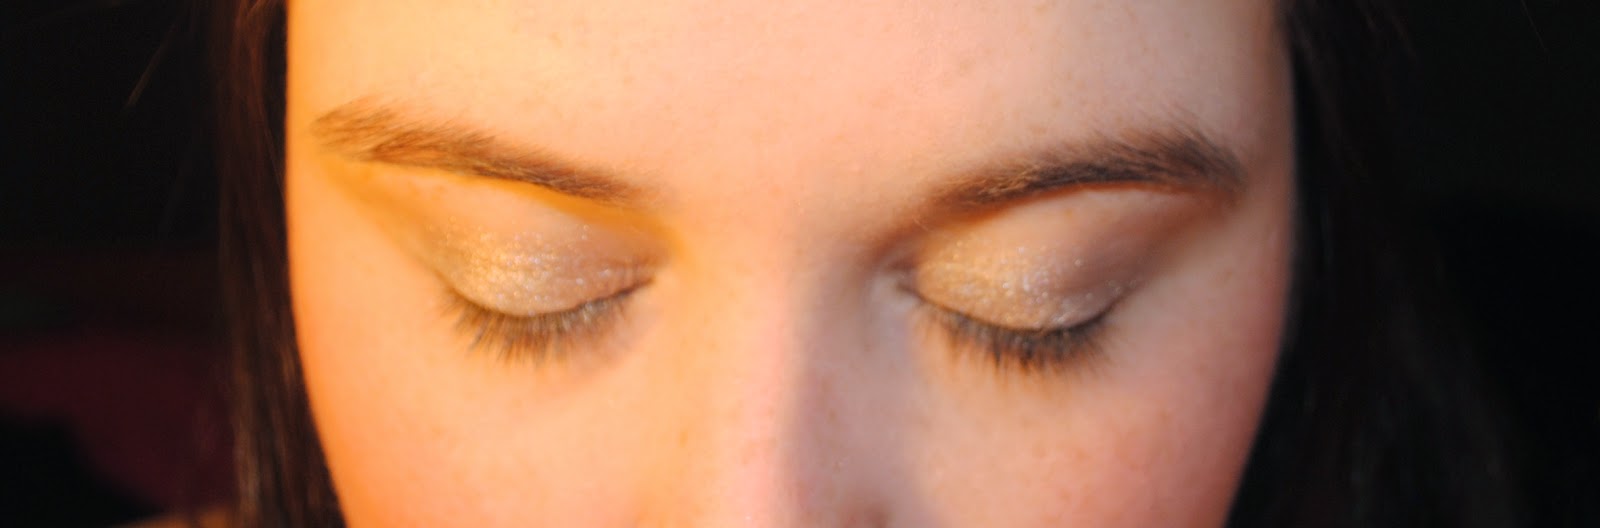
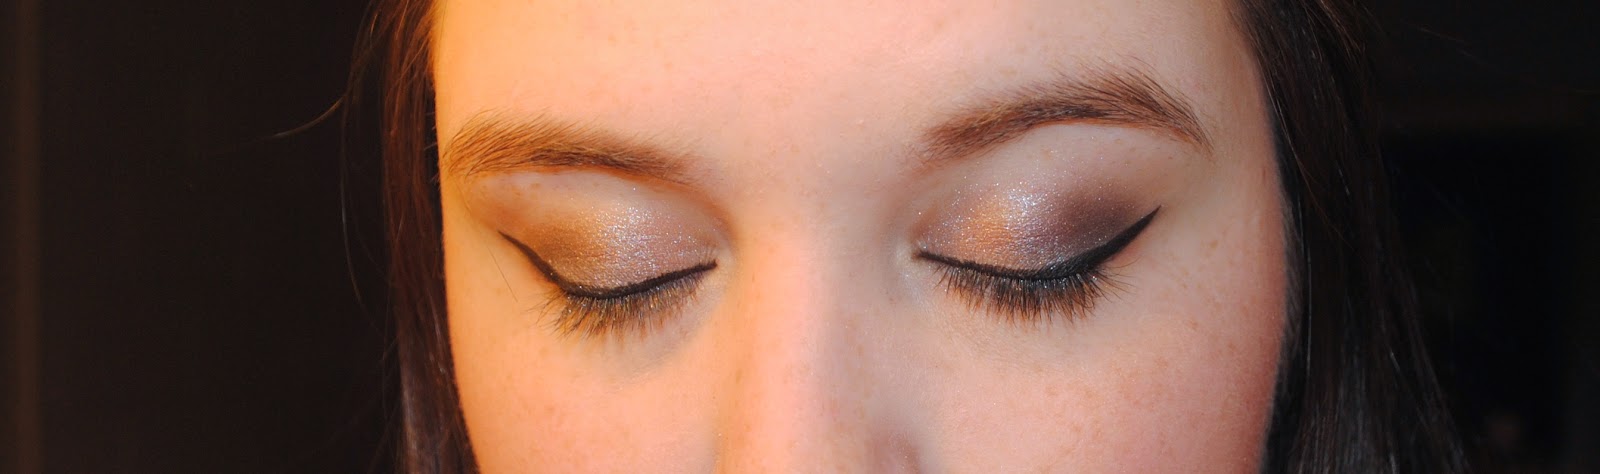
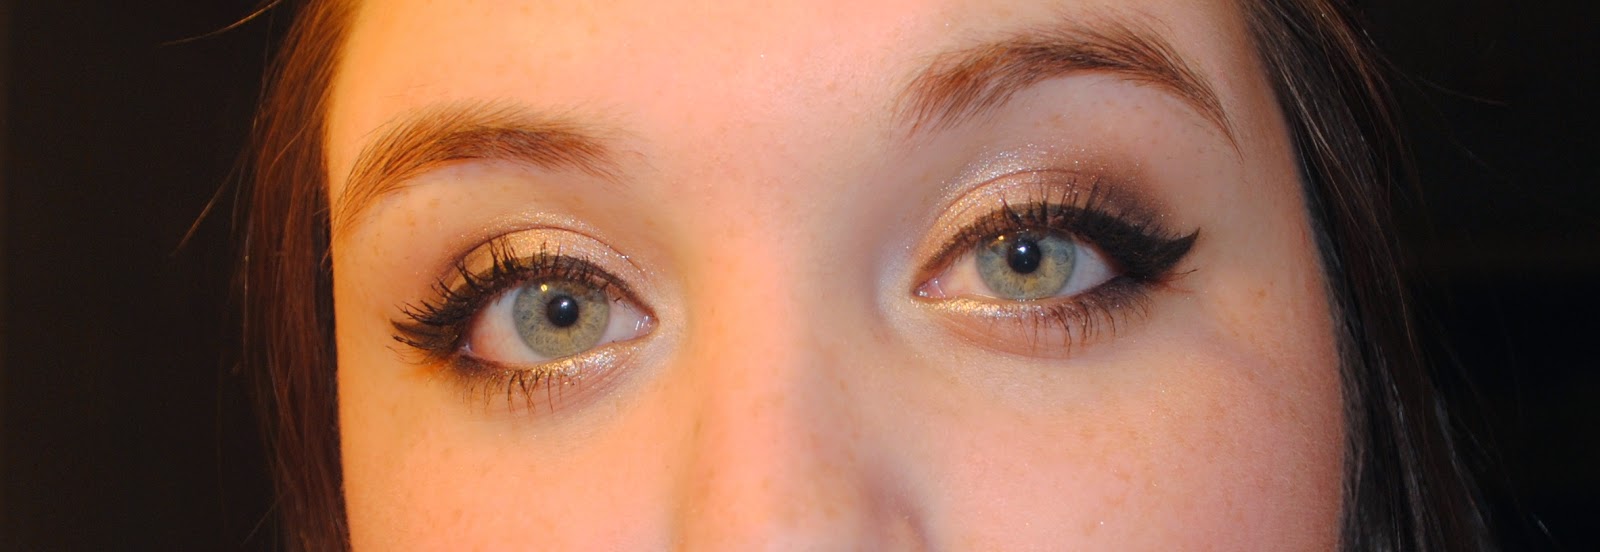
It's time for my eyes! Because I want the look to be subtle, sweet, and summery, I'm using a light pink/champagne eyeshadow all over my lid. It's shimmery and soft which is perfect. To darken up the look and give it dimension, I used brown in the crease and just blended that out. Instead of a harsh eyeliner, I took that same brown eyeshadow and just lined my upper lid slightly.


Lastly, I used Benefit's They're Real and Maybelline Pumped Up Colossal Volume Mascaras and made my lashes really dark and pretty.


To finish, I made sure my lips were coated in Chapstick and then I went in with a peachy blush and gave my lips a little bit of sparkle using it.

The finished look:


Hope you all enjoyed this look!!!

xo Emily

Today's Face Tuesday: Dark and Stormy

Tuesday, April 22, 2014

Today's Face: Tuesday 
A Pink Touch: Makeup Look

In today's post, I'm doing a look I like to call "Dark and Stormy". It's a really shimmery and sparkly silver and black look with just a tiny bit of shiny pink tossed in. I finish the look with a frosty, sweet pink lipstick. The look is perfect for an everyday, more dramatic look or for a fun night out!

Again, like in my last Today's Face post, I start with moisturizer, primer, and then my foundation routine. Feel free to use whatever foundation and concealers that work the best for you but today's look is best with your skin looking nice and flawless and matte. For the best results, I'd finish your foundation and concealer with Rimmel's Stay Matte Pressed Powder because it gives you the perfect finish to your skin. (It's also really cheap and lasts forever, a must-buy in my opinion!) Next is touching up the eyebrows then I go in with a bit of bronzer and blush and voila! Face is ready for eye makeup!

Before! (Look how matte my skin looks!!)

After I do all that, I just prime my eyes with and start in with a base eyeshadow. I used a light pink matte shade from the Naked 3 palette called 'Limit' and place that all over my lid and up into the crease a bit.


My lid with just 'Limit'

Next I go over just the lid (not the crease) with the silver shadow from L'Oreal's Studio Secrets HiP Studio Secrets Metallic Eyeshadow Duo in Platinum. I love this duo because you've got the most gorgeous, sparkly silver color and an equally gorgeous black color that works amazingly well with the silver. 

This is a very well-loved eyeshadow
I go over my lid with the silver shadow on the left. Black will be used later!

Here's what the silver adds. The picture doesn't do it justice but everything just sparkles beautifully. Note that I only put the silver on my lid, not the crease.


Next, we'll go in with the the Naked 3 palette again with the color 'Blackheart', the very darkest shadow in the palette. I love this color because it isn't as really as dark as black, but more of a dark dark purple with little specks of gold. 


We'll take Blackheart into the farthest side of our lid (near where our eyebrows end) and pat that on very very lightly and then go in with a big, fluffy blending brush and blend blend blend away! 


Take Blackheart up into your crease and it'll give really great definition to the look, giving it a twinge of pink and purple. 

Next, we'll go back to our metallic eyeshadow duo but this time take the black shade and bring that on top of Blackheart and blend blend blend it out even further, darkening up the look. 


I find the best thing to do when you're using a dark black is to go in with it on top of another dark color and just keep adding and patting it in until you get the darkness you want. It's always easier to add more black and not so easy to take black off your lid.


Now, we can't forget liner so we're just going to add a deep wing using Maybelline's Master Precise Liquid Liner, making the line fatter and fatter as it gets closer to the wing. I touched up the look with NYC's liquid liner as well as added a highlight on my brow bone and inner eye with the NYX white eye liner pencil.

To finish the look, add whatever your favorite mascara is. Today I used a few coats of Maybelline's Mega Plush Volume Express Mascara as well as They're Real by Benefit. 


And if you so choose, you can add a lipstick or lipgloss. I'm wearing MAC's Frost - Angel which is probably my most favorite lipstick I've EVER owned. If you can get your hands on this lipstick, BUY IT. I love it so much.

It's such a simple, pretty pink that works with literally any look. 

My pride and JOY!

Voila! We're done!!!  

The Final Look!
So that's today's face. Let me know if you like the look because it's one of my favorites and a go-to look quite often!


Yikes! I should go clean up the mess I made!!! Hope you guys enjoyed :)

xo Emily